Tuesday, July 22, 2014

Beef Tips and THICK Mashed Potatoes

Hello again! I know it has been quite some time since I made a new recipe and I apologize for that but my life has been a big ball of crazy. I finished college, got engaged, and now working my tail off to get a new house. Don't get me wrong, I have been cooking lots of yummy dishes but it takes more time that you know to cook, snap shots of the food, and post it. Give me a break, a girls' got to have a social life....Ok so for today I will be making Beef Tips and Creamy "To Die For" Mashed Potatoes.

First we want to do the potatoes because they take longer that the tips. You must get your water boiling and peel your potatoes. I usually like to make a full pot of potatoes. This usually means 4-5 small potatoes or 3-4 large ones.  Cut them up and boil them from 10-13 minutes. Drain when done for about 5 minutes to get all of the water out.
I have heard from Emeril Lagasse that putting the potatoes still wet into the hot pot will dry out the rest of the water. You can tell this is happening by the crackling sound in the pot after you put the potatoes back into the pot.


I like to mash up the potatoes a little before putting in the ingredients. I also like to use my old fashioned smasher. This gives me an excuse to "exercise" my arm strength even though I did nothing that day.


After you smash the potatoes a little, you want to add...don't be shocked...a stick of butter and an 8oz. container/block of cream cheese. This I know sounds sooo bad but you are no eating this everyday. This can be for special occasions, Sunday dinner, or a cheat meal. Trust me on this.....the mashed potatoes are the best you will ever have!


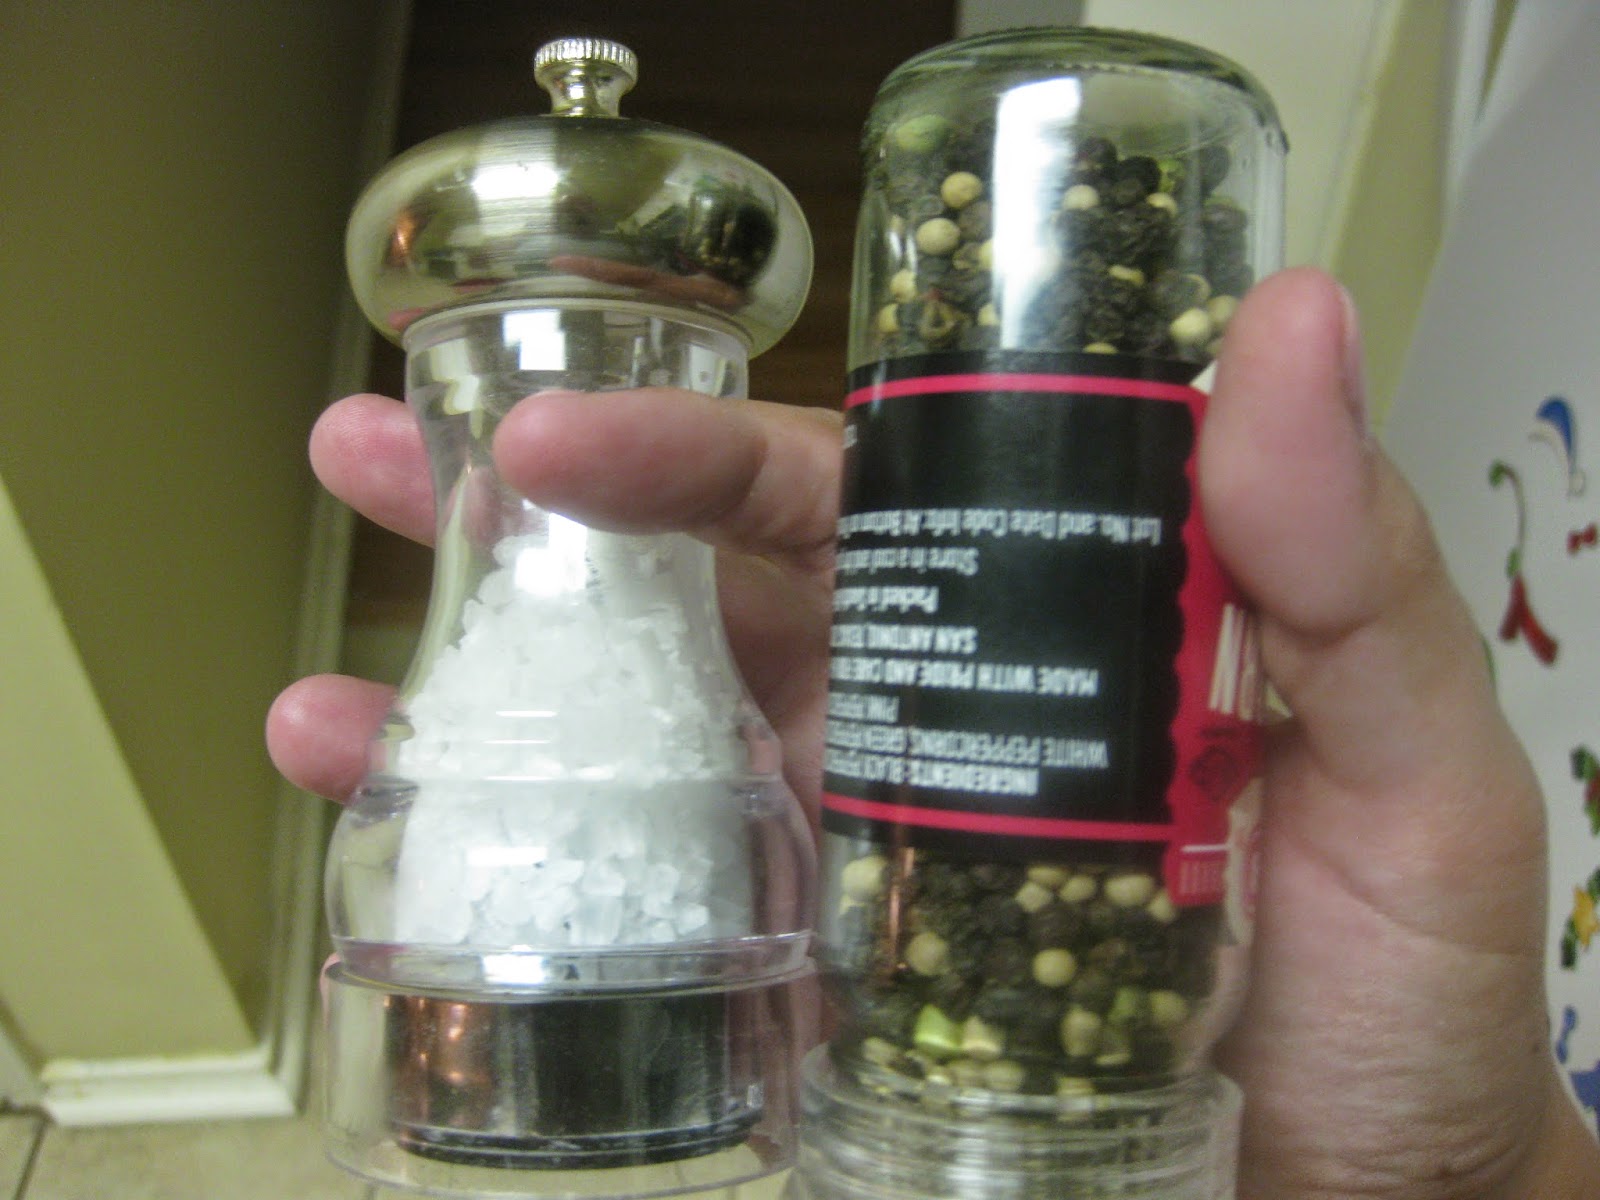
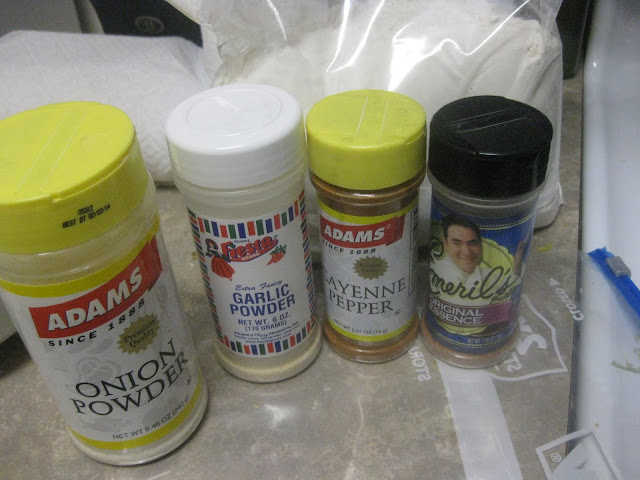
 Add your salt and pepper to your liking


Told you...a whole container of cream cheese...YUMMMMM


 This is the consistency you want it. By the time you are finished mashing it up your arm will hurt it is so thick...but it will withstand the gravy very much and go great with the tips...Which brings me to the next portion of this meal. The beef tips.


When selecting a cut of meat you need to see how long you want to cook it. I chose to have a meat that cooks well under 30 minutes but you may have time to use a cheaper cut of meat and cook it o low heat for a couple of hour. I chose the tenderloin cut. I asked the butcher for about 2 pounds and it made 4 servings. I cut it up to my desired bite size and sprinkled it with a little salt and pepper.
 
You need to fry these in the pan and sear on both sides until brown. Be careful not to overcook it and take the beef out of the pan to rest while you make your sauce.  
While the meat is cooking you can cut up your veggies. This is the first time I have used a Shallot and boy was it great! I think I am hooked now. So I used one shallot, four cloves of garlic, and one shiitake mushroom. Chop those up and set them aside.


After you have chopped up the veggies you can throw them into the pan along with some olive oil and one tab of butter (use real butter...it tastes better). Let those veggies soften for about 5-10 minutes and continue to stir to avoid burning at the bottom.

After the veggies are nice and tender you can add the following into the pan..
1 cup of beef broth
1/2 cup sherry cooking wine
2 tablespoons of low sodium soy sauce
1 teaspoon of Worcestershire sauce

Cook those down for about 5 minutes and add 2 dollops of sour cream and mix until dissolved. After that you can add some flour to thicken it up a bit and if it is too light you can add some gravy master to darken it. Throw the beef back in and mix together.


This is what it should look like as the end result. Throw some mashed potatoes in a bowl and some of this fine stuff on top and ENJOY!

Wednesday, November 7, 2012

Red Beans and Rice


As the weather get colder and the days get shorter all I want to do is cozy up to the couch eat something hot and comforting and watch the fire dance in the fireplace. Since I live in Houston the weather here is mostly on and off as far as cold day so when it is cold I like to make a warm meal that fills the soul with good feelings. This time I made a home favorite...Red Beans and Rice. Above you will find the ingredients for this and below you will find a picture of all I used.
The best thing about this meal is I could use a crock pot and let it cook without any fuss. The other best thing about crock pots is the crock pot liners!! No more soaking for this woman!
One thing I did forget to mention about cooking this is you have to soak the beans overnight like below.
So just pull out our crock pot and line.
Next cut of the onion and pepper
Next just throw everything into the pot. First the beans, then the veggies, lastly the spices.
Stir and set to cook on low for as little as 4 hours. As I said before I like to cook mine all day but if you don't want to you can cook it for the afternoon or morning for lunch time.
The last hour the beans are cooking you should cook the sausage. I use andouille because it is a little spicy and that's what I am used to.
The lat step to this process is smashing some of the beans to add thickness to your brew. I just took a regular potato smasher but sometimes people like to make it quicker and use a blender. You just make sure it comes out looking like refried beans.
Put the sausage and mashed beans into the pot and stir.
Look how yummy!

Now just make your rice and you are all set.
One secret of mine is to put some ketchup in it at the end.
Enjoy!

Wednesday, October 3, 2012

Shrimp Po Boys

This week I was craving shrimp Po boys. Well I really wasn't craving the Po boy but just thinking while I had my freezer open, if I don't get rid of these shrimp soon they will be freezer burn so I thought what better than to make it in a sandwich. The ingredients you will need is of course shrimp, flour, Emeril's original spice, onion powder, garlic powder, salt, cayenne, oil, milk, eggs.
First thing you need to do is heat up your oil. I always use a pan but since I had a grease fire I am thinking about getting a deep fryer. People say it is easier to cook with and it comes with a lid to keep all the grease from splattering all over the place. Who knows I might get it for Christmas.
Second, peel the shrimp. 

 Here is the difference between what size I like to eat and what size my boyfriend likes to eat..Funny huh?
 Next, after you test the oil by putting a pinch of flour (if it fizzles then the oil is ready) you can make your what I like to call it your dip n shake routine. You will need to make your dip- a bowl with eggs n milk to dip your shrimp in.
 And shake- your zip lock bag with flour, and spices as seen below, plus some salt.


I like to peek in the bag just to make sure all of the meat is covered. It is easy an doesn't leave flour everywhere if you use a plate.
 After that you fry up the shrimp. Just until they brown, it doesn't take long for shrimp to cook. Really only shrimp takes less that 5 minutes to cook.
Nice and Crispy!!
 After you cook the shrimp you can assemble your sandwich. Some people do fancy dressings for their Po boys but I like the good ole mayo and ketchup. I learned this trick in high school when I lived in New Orleans. Every day for lunch there were three lines....Hot Lunch, Pizza, or Hamburgers. My friend used to combine the mayo and ketchup and one day I asked her if I could taste it...Wow I fell in love and we have been partners ever since.  
You can dress it however you like but I like mine the old fashioned way..Fully Dressed and going to the ball! Basically it is lettuce, tomato, pickles. Looks good right?!
 When you are in New Orleans there are different choices to make when picking a meat for the Po boy. There is shrimp of course, roast beef, crawfish (love this too), fried oysters (my mom's favorite), and hamburger. Even though it didn't take much effort I made this for my boyfriend. He doesn't like seafood as much as I love it.


Monday, September 10, 2012

Crispy Chicken Tacos

One of my boyfriend's favorite dishes is crispy chicken tacos. They are really delicious and easy to make. The ingredients are:
Shredded chicken (any kind will do thighs, breast, wings)
Oil
Corn Tortillas
Taco toppings ( tomato, lettuce, cheese, avocado, etc)
I usually don't cook chicken for this recipe. I buy the already roasted whole chicken made at the grocery store. It is always easy to shred and tastes fantastic.
The rest of the fixings are tomatoes, avocado, lettuce, cheese and sour cream
First you want to lay out all of your tortillas on the counter. I do this because the frying goes fast and you can cook a lot faster when everything is ready to go.

Next lay out the shredded chicken on the tortillas 
While you lay out the chicken you can heat the oil.
When the oil is heated, probably will take 10 minutes to heat up. You fry the tacos. You can use your hands to hold the tacos in place for about 30 seconds or tongs just in case you don't want to burn yourself with the oil for those of you who are inexperienced.
After you hold the tacos up you are going to fry them on each side for about a minute or two so they get slightly darker in color.


After they cook you can set them on paper towels to let the access oil drain. I like to put the cheese on right when they come out of frying, that way the cheese melts before you put on the other toppings.
After the tacos are drained and you have the cheese melted you can put on the rest of your toppings. I start with sour cream, then diced tomatoes, avocado, and lettuce. My boyfriend loves jalapenos so I throw those on his along with some hot sauce.

Don't they look yummy? Enjoy!